
How to Build a PVC Pipe Drone Cage for Under $800
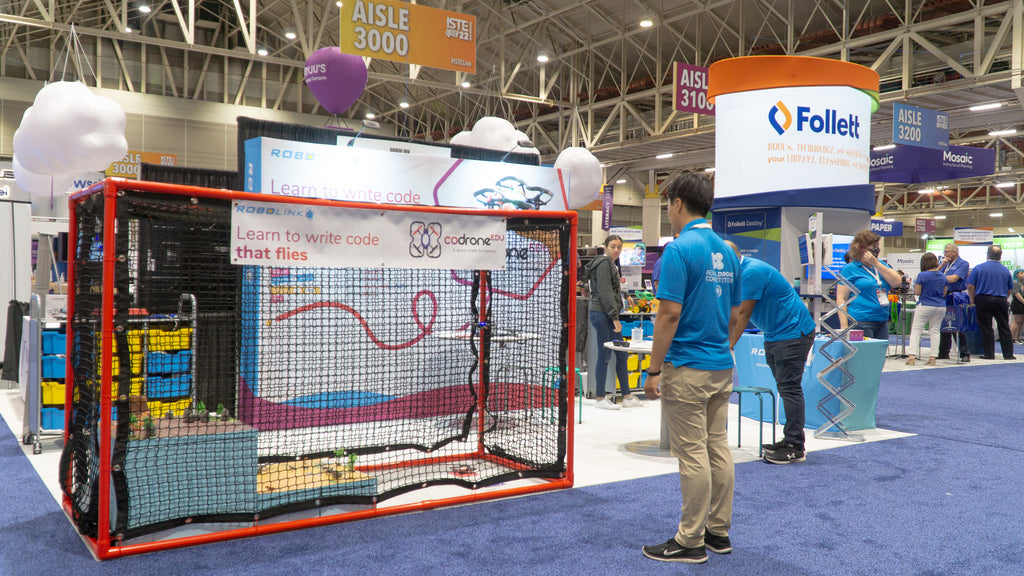
We often get inquiries from teachers about how they can build a drone cage, especially when teachers come by our booth at trade shows, which is pictured in the cover image of this blog post. We usually recommend just dividing up your room into a flying area and a coding area, so the drones which are flying are not in the same area of the room as where students are working. That being said, some classrooms may not have the flexibility to move desks or furniture so easily, and we know some teachers would prefer to have the peace of mind knowing the drones are more contained in a space.
If you've seen the drone cage at our booth, we simply built a drone cage out of PVC pipes and some netting. While we don't have a drone cage available for sale (we're working on it), I do have a set of relatively simple instructions for how to make the drone cage we use at our booth out of PVC pipes!
The nice thing about it too is that you can build a drone cage for under $800.
Here's a list materials that you'll need:
-
Furniture-grade (<-read) PVC pipes and fittings:
How many you'll need depends on how large of a drone cage you want to build. I recommend 1-inch or 1-1/4 inch PVC pipes and fittings from FORMUFIT. Any thicker is a bit too bulky, and thinner will probably bow too much at longer lengths. NOTE: if you opt for a different PVC pipe from FORMUFIT, make sure it's furniture grade, because if it's too brittle, it can shatter or crack when you use the PVC cutter. Then you'd end up needing to file it down, so it isn't sharp. -
A hand PVC cutter:
PVC pipes are just plastic, so you don't need any power tools. These hand cutters use a ratcheting system in a way that doesn't require that much strength to ratchet the cutter through the PVC pipe. We use this one, on Amazon. -
Custom-sized netting:
It's pretty similar to a soccer goal netting. The one we use is from US Netting, and the product code is SBN-30-400, which you can find on the page I linked. You can enter the dimensions you need. -
Zip ties:
To actually attach the netting to the drone cage, we just use basic zip ties. Just make sure they're long enough to wrap around the PVC pipes, like these ones, which are 12-inch zip ties.
Now with an example!
Let's do an example with the actual drone cage we built for our booth, which is a 10 x 4 x 5 ft drone cage. The base of the drone cage is 10 x 4 ft, and the height is 5 ft. The one pictured in this post's cover image is actually an 8 x 3 ft footprint and 5 ft high, so this example is just slightly bigger. I would say it's a pretty decent size for a classroom where there's enough room to fly the drone around inside, but it won't take up too much of your classroom.
So with this example, here's the schematic. Below, I have the parts that you would need all listed out.

On FORMFIT's website, the PVC pipes only come in 60-inch (5 ft) lengths and 40-inch (3.3 ft) lengths. So for the five 4-ft pipes, you'll need to cut off a foot from each. So in terms of what you'll actually need to purchase, I've included a list below, with a few extra parts as well, since there's always a chance you could misplace a part during building or moving the drone cage. Or maybe you need to test the PVC cutter first, before making the actual cuts.

I'll list out the links to all of the parts with links below. These are for black pipes, but FORMUT has a bunch of different colors, including clear pipes!
Fittings:
Pipes:
- 1-inch diameter, 60-inch length PVC pipes (NOTE: comes in packs of 2)
Netting:
How much does it all cost?
So if we actually put all those together, here's the breakdown of the cost to build that cage. These prices are based on prices as of the publication of this blog post, and don't include shipping, since that will change depending on where you're located—your mileage may vary.
$292.41 - PVC pipes & fittings
$449.60 - Netting
$14.49 - PVC cutter
$9.09 - Zip ties
GRAND TOTAL: $765.59 (without shipping)
As you can see, the most expensive part is the netting, because each net has a setup cost. You could even cut some costs by using just 2 longer overlapping nets instead. Or better yet, ordering one large net and draping it over the drone cage. Another option is just borrowing netting from your gym, if there are any unused soccer goal or volleyball nets.
Not bad, considering drone cages often will cost you well over $1,000!
Make it a project with your students!
Building the cage itself is pretty straightforward. Once all the parts arrive, you just need to cut a foot off of five of those 5-ft pipes so that you have five 4-ft pipes. There are videos on how to use the cutter, including on the Amazon listing itself—it's pretty straight forward and safe. If you'd rather do those five cuts yourself, you can handle that while the students build the cage. With the pipes cut, you can build the cage following the schematic above. To attach the nets, just zip tie the border of the net along the pipes, like in the cover image of this blog post.
That's it!
A drone cage isn't absolutely necessary, but it's a useful tool to have if you or your students are pretty new to drones, and you want to keep the drones contained in one place. Building a drone cage is also a great project to work on with a group of students, so they can get some hands-on experience with measuring, planning, and building.
You can also make your drone cage larger if you want more space to practice, just remember that you might want to size up to 1-1/4 inch diameter pipes, and add more support columns to prevent the frame from bowing too much.
If you have any questions about building the drone cage, feel free to reach out to us at info@robolink.com. We're happy to help!